An organized photo collection makes it easier to find your photos and keep them safe. Set yourself up for success with these 10 tips:
- Gather everything to one area – a place where you can leave it for a while.
- Write your goal on a sticky note and hang it where you will see it.
- Set up your workspace – clear space on the floor or bed so you can spread out.
- Gather supplies – photo boxes (archival ones are best), sticky notes, index cards, photo safe pen, microfiber cloth, cotton gloves, garbage bag (yes, it’s OK to throw away bad photos).
- Do a rough sort first – write the decades on your index cards and sort your photos into these piles.
- Create a pile for photos that don’t fit your decade piles – those you can’t place or would like to organize a different way – make notes on an index card you keep with this pile. Grandma’s pictures, Family Reunions, etc.
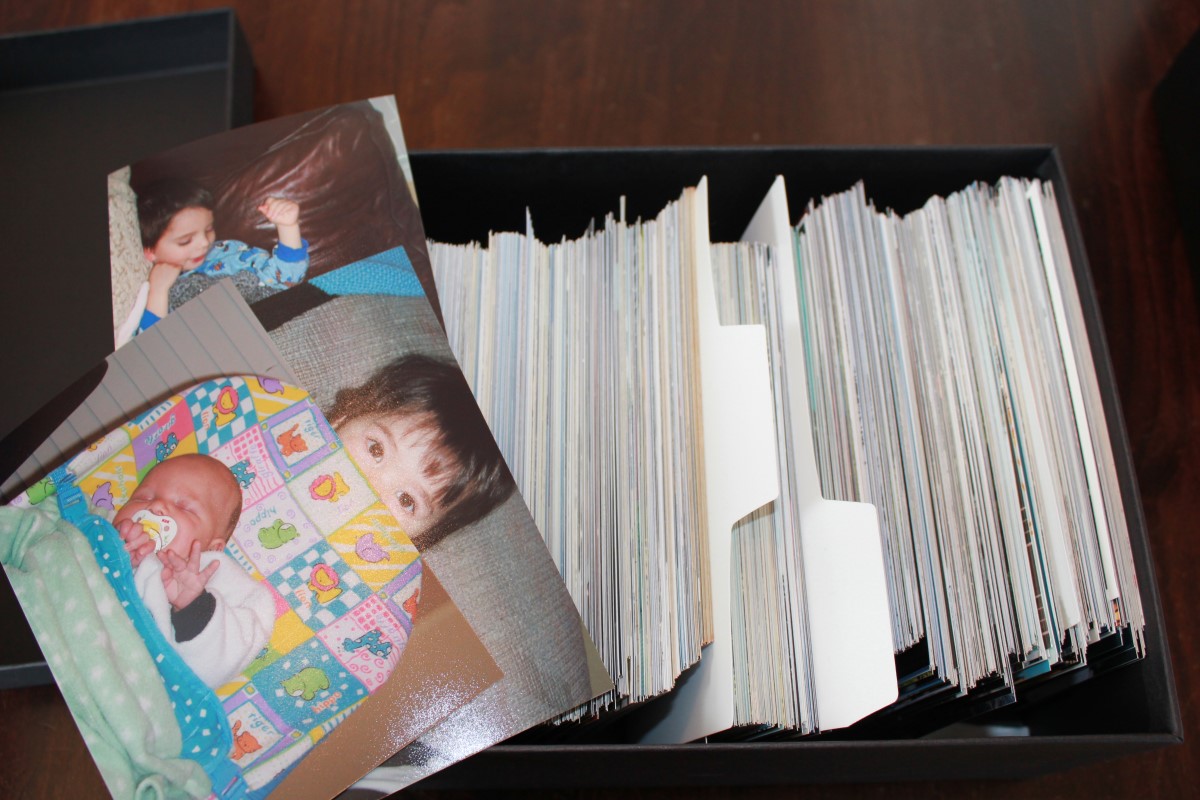
- Do a detailed sort – each year in the decade pile, or sort by era – high school years, college years, early married life, babies, etc. Use index cards to label each new pile. Your older photos, say from the 1930’s, may just stay as a decade pile.
- Do a final sort -put each year in order and place the photos in storage boxes. Use index cards as separators for each decade, year or theme.
- Label your boxes according to what’s in them – example Family Photos 1978.
- Store your boxes in a safe location.
Bonus Tip – scan your photos and do something fun with them!
- Share them on social media
- Share them with family and friends
- Make a photo book
- Make photo gifts
- Print them larger and make a gallery wall
- Upload them to a family sharing website