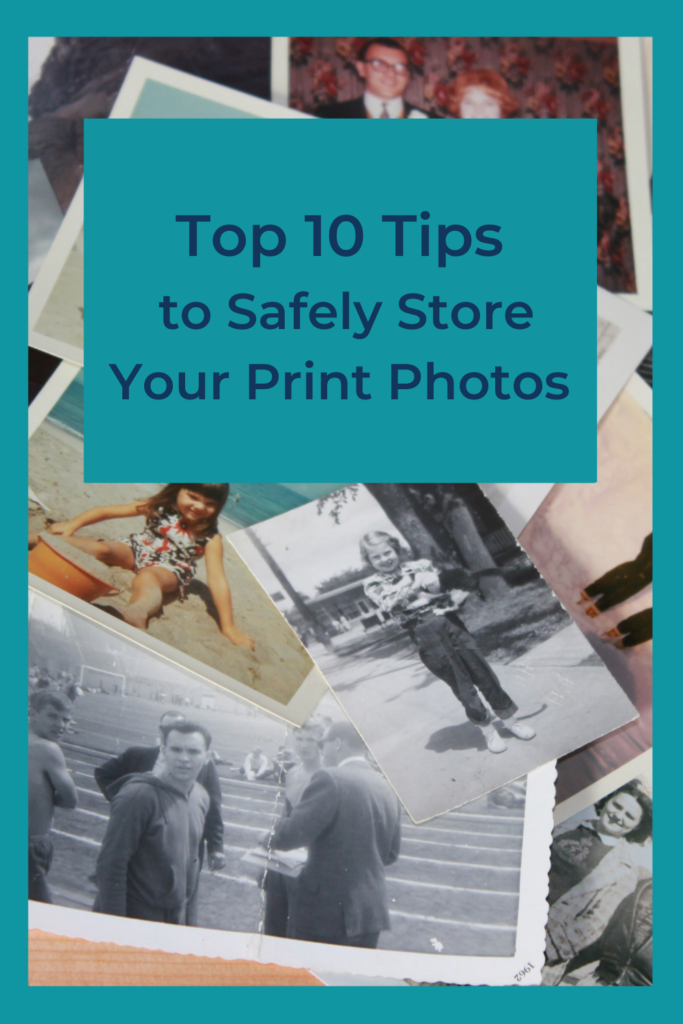
Printed photos can last a very long time if stored properly. Follow these 10 tips to extend the life of your print photos:
- Store your photos in the proper conditions – temperature, humidity and light affect photos. A dry environment causes the paper to become brittle. A humid environment can lead to mold and mildew growth, pictures can stick together, ink and pigments can run and fade. Wide temperature changes can also be harmful. UV and fluorescent light will break down images with time. Light can cause inks and pigments to fade. Avoid storing photos in basements, garages or attics where the temperature and humidity can fluctuate.
- Store your photos in safe places – be aware of insects, rodents, flooding or water leaks. The best place to store your photos is in an interior closet of your house.
- Store your photos in safe containers – look for paper products that are labelled as acid & lignin free and non-PVC plastic. Look for plastic products that are made of polypropylene, polyethylene, Mylar, Tyvek and cellulose triacetate. A polypropylene item will have a recycling symbol on the bottom with the number 5 and the letters PP. Unsafe bags, pages and boxes may release harmful vapors that permanently damage photos. Adhesives might chemically interact with images and ruin the photos if you try to remove them from an album at a later date. Use only specially made acid free glue sticks, markers and corners on your photos. Paper clips, rubber bands, glue and tape should not come into contact with photos unless specifically designed as safe for photos. Be aware that “photo safe” and “archival” are not regulated terms. A true archival quality item will state that it is PAT passed – the PAT is an international standard test for photographic display and storage items. Always check the quality of the materials.
- Choose the right album for photo storage – when you choose your albums you are choosing how much protection you are providing. Consider the following:
- Is this photo album made of safe materials?
- Does it have the features I want:
- Consider the size of photos – does it offer different sized photo sleeves to safely house all my photos?
- Can I create a more creative page with this album?
- Is there space to write notes or attach stickers?
- Can I move/remove /insert pages easily?
- Can I safely store memorabilia in this album with the photos?
- Does it fit on my shelf?
- Is it attractive?
- Store your photos safely in their containers – binder style albums make it easy to add/remove/move pages without affecting the photographs. Be careful not to overfill your album – photos can become bent or creased or even fall out and become damaged. Overfilling a photo box can similarly cause your photos to become bent or creased. Under filling a photo box can cause your pictures to move around, curl on the edges, become frayed or otherwise damaged. If the box of photos is not full, use something photo safe, like a divider, to fill the extra space. There are many multi-pocket album pages made of inert polypropylene on the market to safely store photographs in standard sizes. Older photographs in irregular sizes can be mounted on archival paper pages with photo corners and slid into clear polypropylene page protectors that are pre-punched for 3 ring binders. Many large office supply stores will carry these.
- Safely frame your photos – always frame your photographs using acid-free matting materials. Hang framed photos on a wall that does not get direct sunlight or use blinds and draperies to control the light.
- Handle your photos safely – the oils and salts on your hands contain chemicals that can damage photos and leave brown marks over time. Always handle your photos only by the edges. Wear clean white cotton gloves for extra precaution.
- Record data safely – use photo safe pencils, pens or markers to record the data on the back of a photo. Write along the edges of the photo.
- Remove your photos from magnetic albums – if you have photos stored in magnetic albums – the ones with the sticky page and plastic cover – you should remove them immediately. Try using dental floss, a plastic spatula, a hair dryer or an adhesive remover like Un-do if the photos are really stuck.
- Scan your printed photos – it is estimated that 1.7 trillion paper photos are stored in albums, attics and shoeboxes. Less than 1% have been transferred to digital. Scanning your photos creates a digital copy of that image. This provides a backup copy of the print photo and brings these treasures into a format you can use, share and enjoy in modern ways.
Good quality photographs can survive over 100 years if properly stored. Check these locations for quality archival products – Archival Methods, Carr McLean, Gaylord Archival